I wrote tips and tricks for improving your snappyHexMesh experience and higher accuracy OpenFOAM simulations previously. These tips can help you obtain high quality meshes with snappyHexMesh but these are not perfect yet.
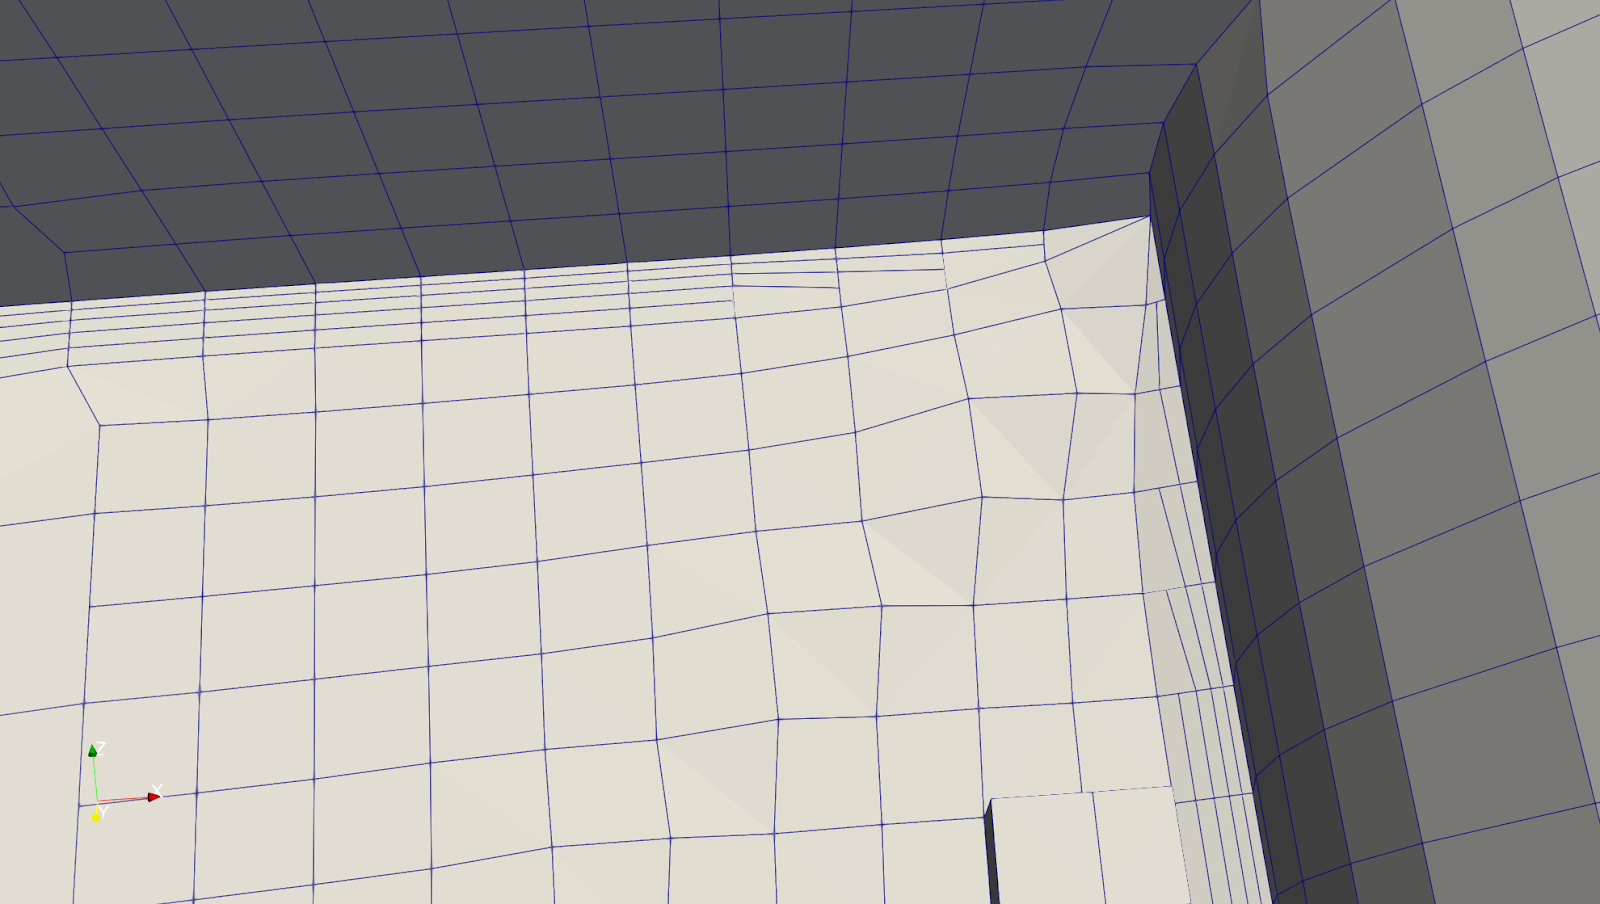
If you are a maniac with your mesh, you can push snappyHexMesh more to obtain PROBABLY better results by sacrificing some of your mesh quality! I know. It’s very counterintuitive and risky, to sacrifice your mesh quality for a few more boundary layer cells. You may end up like this!
So what is the deal here? If you are doing some resistance calculations for your aircraft or ship, you may want your mesh to have at least one boundary layer mesh (a lot of people will criticize me for saying just one layer but one layer is much better than zero). Boundary layer mesh can also be very important if you need to decide whether you need to use wall functions or not because the boundary layer settings can change the y+ value significantly. You can read the importance of wall functions here.
The parts without a prism layer might negatively affect your simulation results because it is problematic when near wall gradients are computed for tetrahedral or polyhedral cells. We want prisms or hexahedral layer to align flow direction with the wall shape.
As you may have experienced, snappyHexMesh is quite bad at creating boundary layer mesh and most of the time, you will have less than 90% of your wall covered with layers. Even if you got more than 90%, the layers may still collapse as several locations. A lot of people are desparate for these collapsing boundary layers. For example, you can check out this CFD-online post!
The culprit for collapsed boundary layer cells is the mesh quality metrics we use inside snappyHexMeshDict file. For every meshing step (castellation, snapping and layer addition), snappyHexMesh will check these metrics and will undo whatever it did if these metrics are not satisfied. During layer addition step, snappyHexMesh will first shrink your mesh away from your wall so that a gap is created between the snapped cells and the wall. Then it will create layers to fill this gap. After that, it will check whether the result is acceptable against the defined mesh quality. If the mesh is not good, it will remove bad cells and adjust the mesh iteratively add layers again. That’s why we are seeing a lot of iterations during layer addition step.
However, these default metrics used in OpenFOAM tutorials are too strict to get a nice mesh with a nice boundary layer especially for complex geometries. So what we do here is we will do snappyHexMesh two times. So, we copy snappyHexMeshDict and rename snappyHexMeshDict_layering and use it for addLayer step only. Again, we need to copy meshQualityDict file and rename meshQualityDict_layering. Then we will disable all mesh quality metrics.

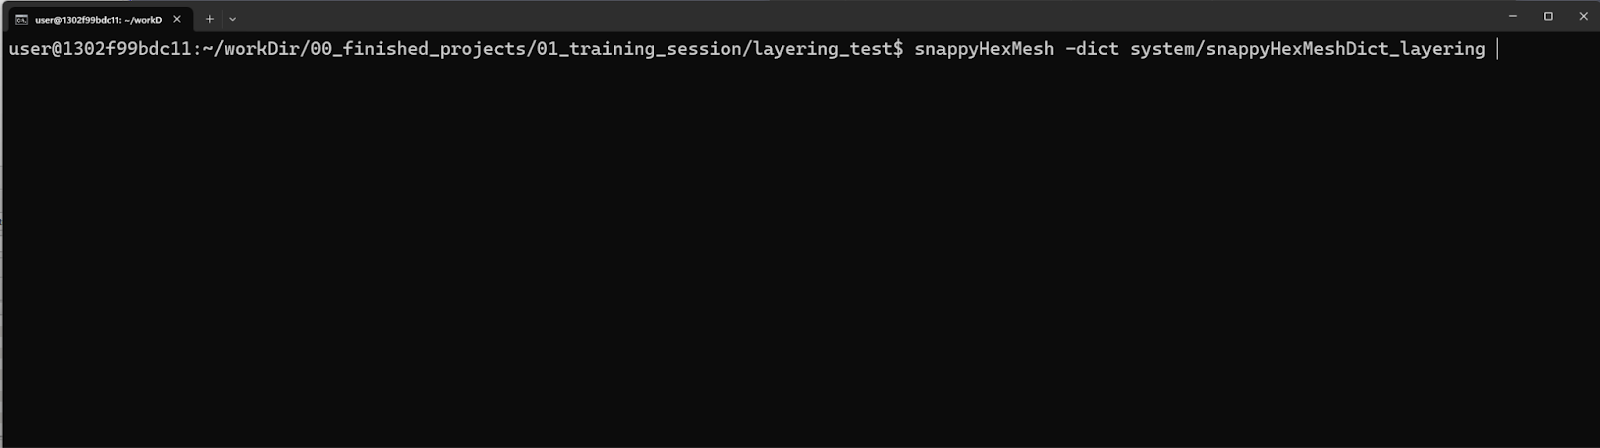
First, we will carry out castellation and snapping steps normally using normal snappyHexMeshDict. Then we will do snappyMesh again using our snappyHexMeshDict_layering file. For castellation and snapping, we will use the normal mesh quality metrics.
The point of disabling these mesh quality metrics is that whatever setting you adjust does not matter if mesh quality metrics are not fulfilled. snappyHexMesh will undo the added layers as long as it finds the quality metrics are not met. Therefore, you will never know which parameters should be adjusted to which values.
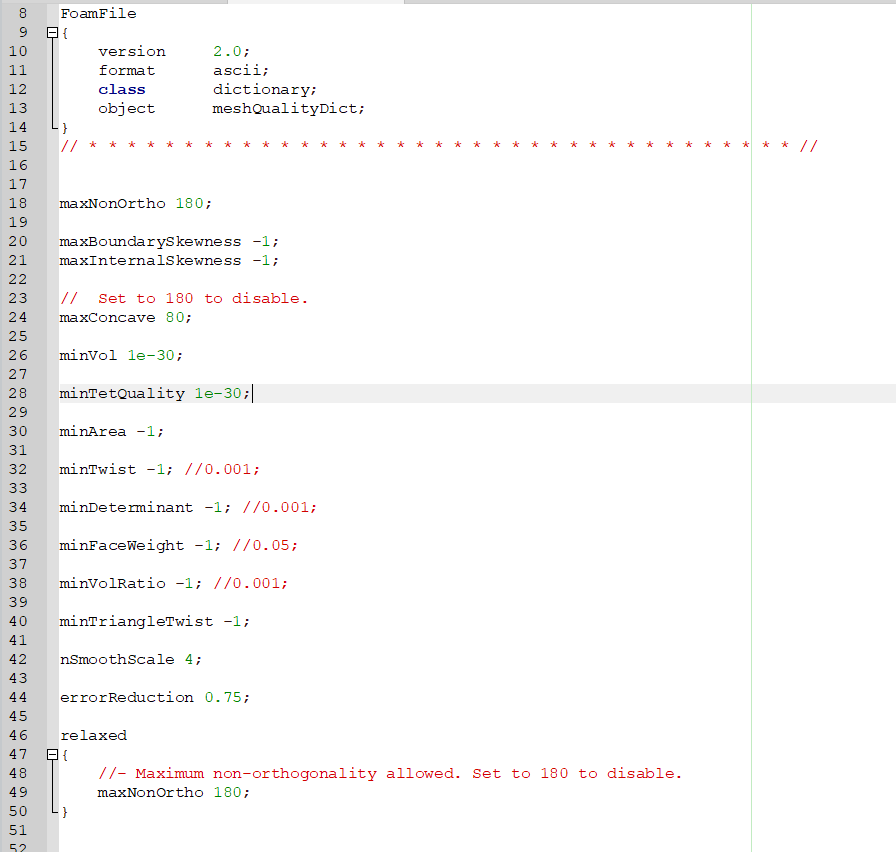
By disabling the mesh quality dict, we can adjust the parameters. A good start is
- maxFaceThicknessRatio: 1.0 (play between 0 and 1)
- maxThicknessToMedialRatio 0.1 (play between 0 and 1)
- minMedialAxisAngle 90 (I used to fix this)
My example looks like this.

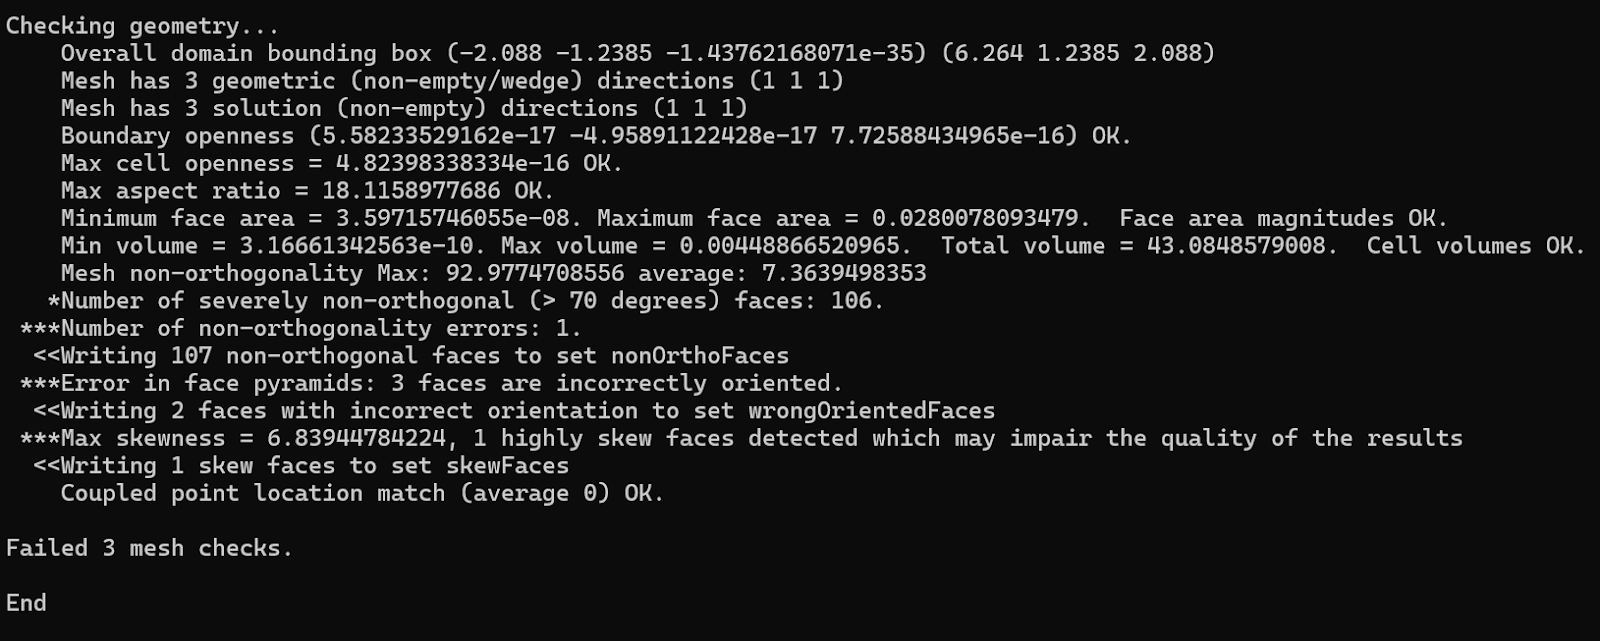
Then, you may face several checkMesh errors. Now is the time to increase the mesh quality dict parameters bit by bit as long as checkMesh has serious errors (like wrongOrientedFaces). If checkMesh stops complains, we do not need to switch on mesh quality dict parameters anymore!
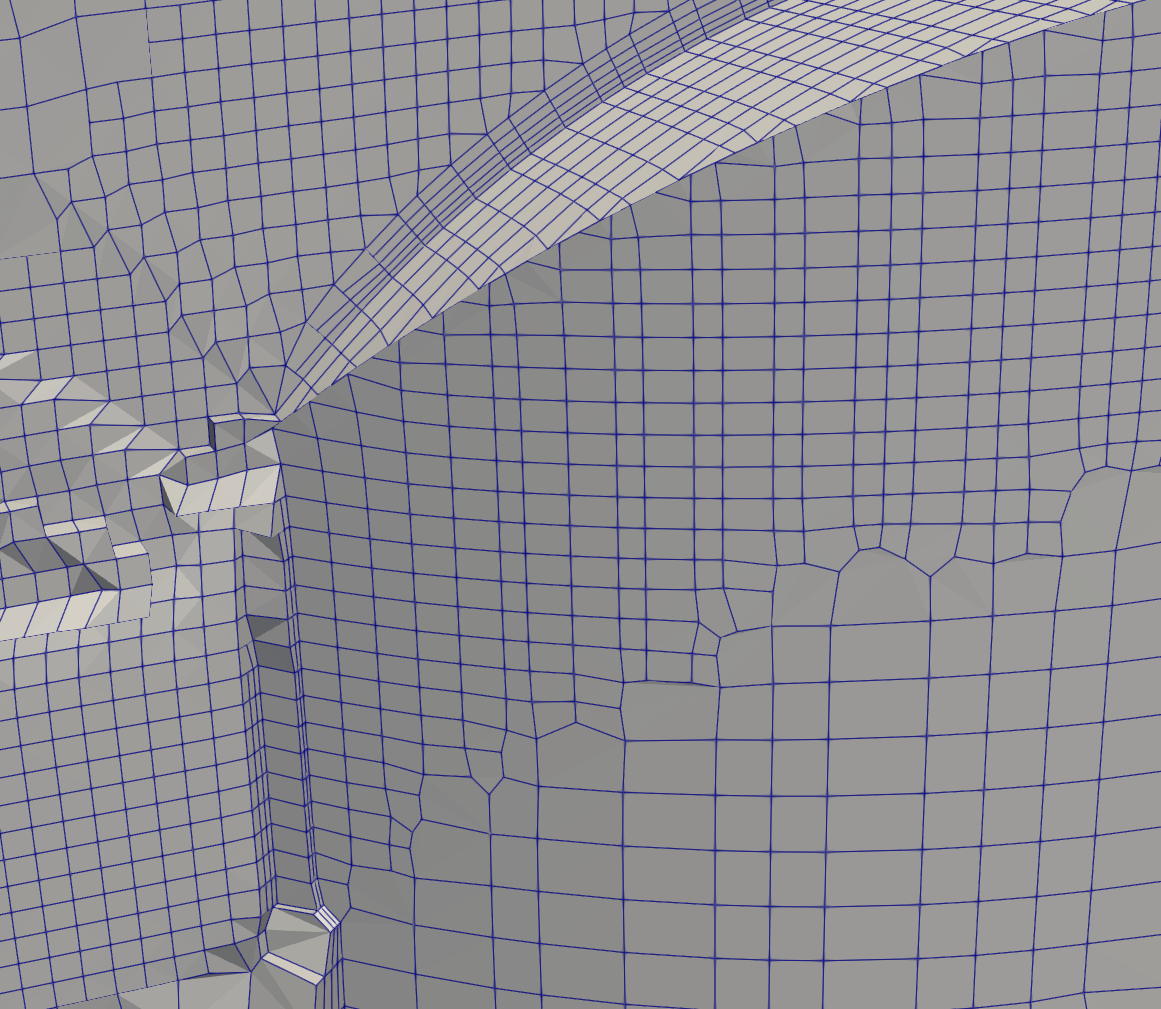
The results are clear. We can see a much better boundary layer mesh created by disabling meshQualityDic.